Renewable Energy Explainer Animation
My process of creating a flat design animated explainer video
Creating an Animated Explainer Video
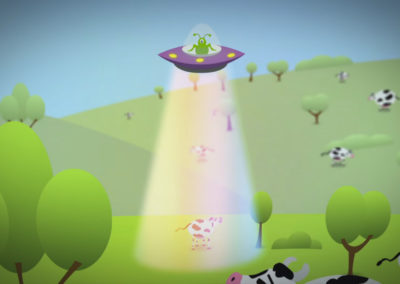
I was tasked to make an explainer animation in my Motion Graphics II class. I decided to chose a controversial topic regarding renewable energy. I knew of a great website, TheSolutionsProject.org that supports the push towards clean energy. To say the least, I was happy to hear that there was no time restriction on this project. I decided to use a clean, simple and colorful design. The first step I took was to start the storyboard and script.
Preparation
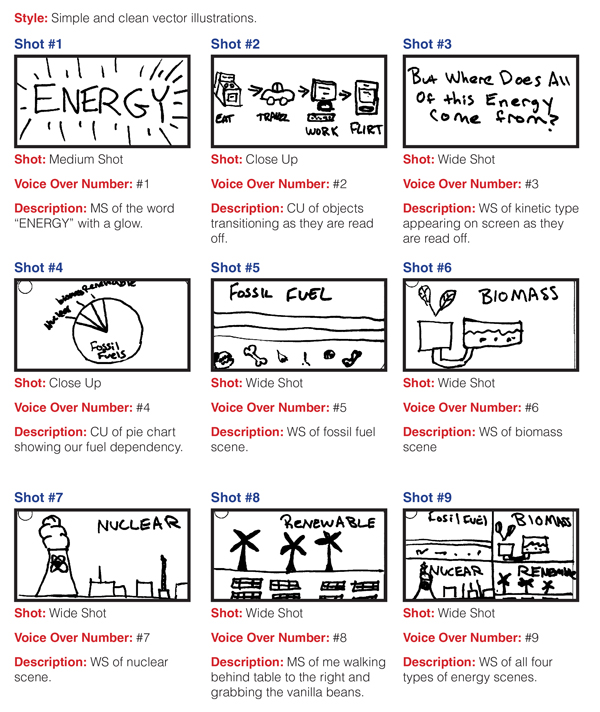
Knowing this is a renewable energy explainer animation, I decided to do some serious research about this topic. I knew a general amount about the topic, but not enough to create a full animation. After I got the research done, it was time to carry on to the next step. I knew that I wanted to go with the clean and simple design style, I then started brainstorming different ways to approach this. After I had a good grasp on how to go about it, I started to write the script first. Completing the script first is easier for me because I can animate to what will be said. I then started sketching up a storyboard and ensured to stay organized and stick with my style. The thumbnail to the left is only the first of a couple pages of the final project. I made sure to have a good balance between text and illustrations. I also considered how my transitions would occur. Once the storyboard was squared away, I started go through some colors to set the overall feel of the animation. I went with bright colors to make it more playful and approachable. I knew I had a long road ahead of me, so I made sure to cover as much as I could during pre-production. Once I had all of the preparation taken care of, my next step was to develop all of the assets I would be using in the animation using Adobe Illustrator.
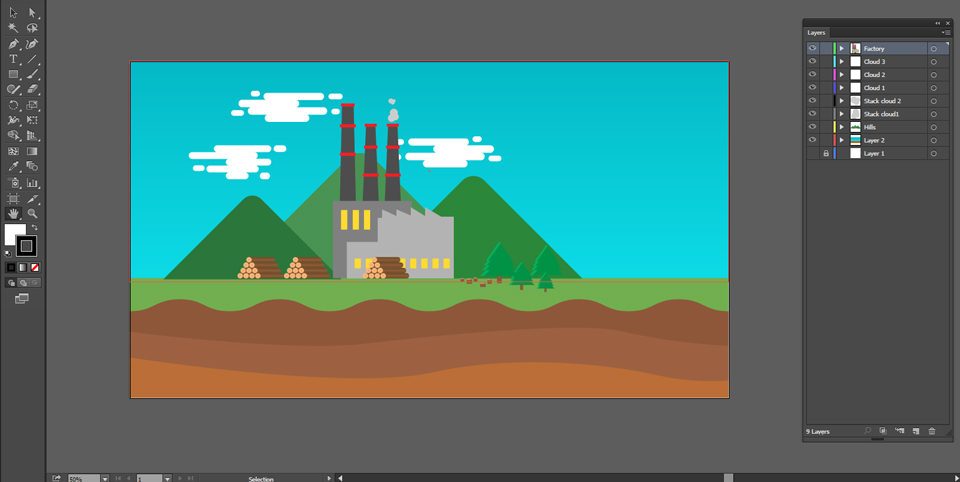
Creating the Assets in Adobe Illustrator
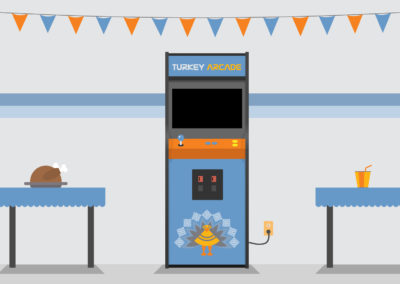
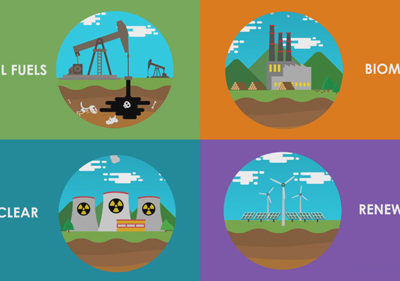
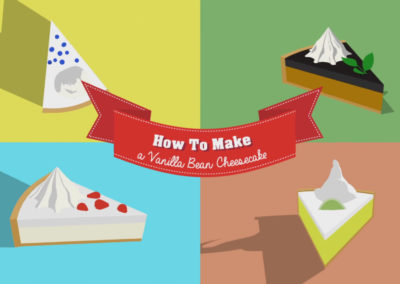
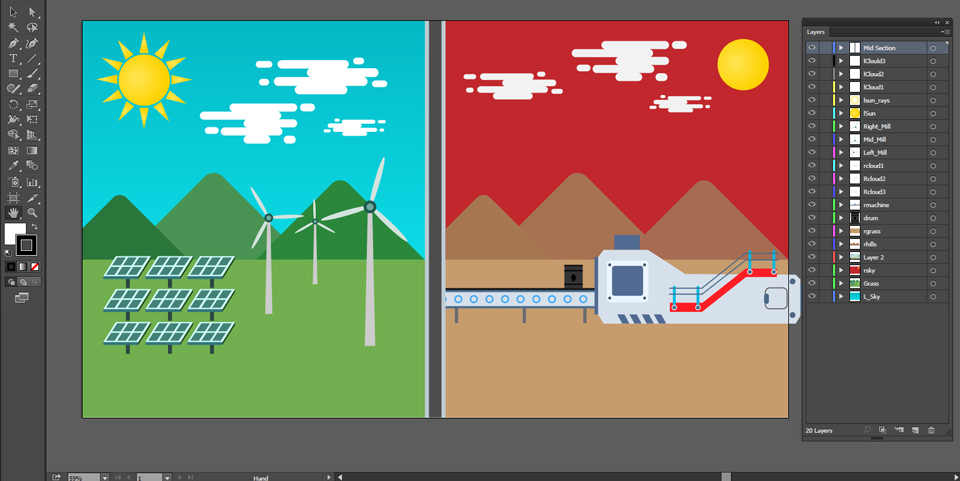
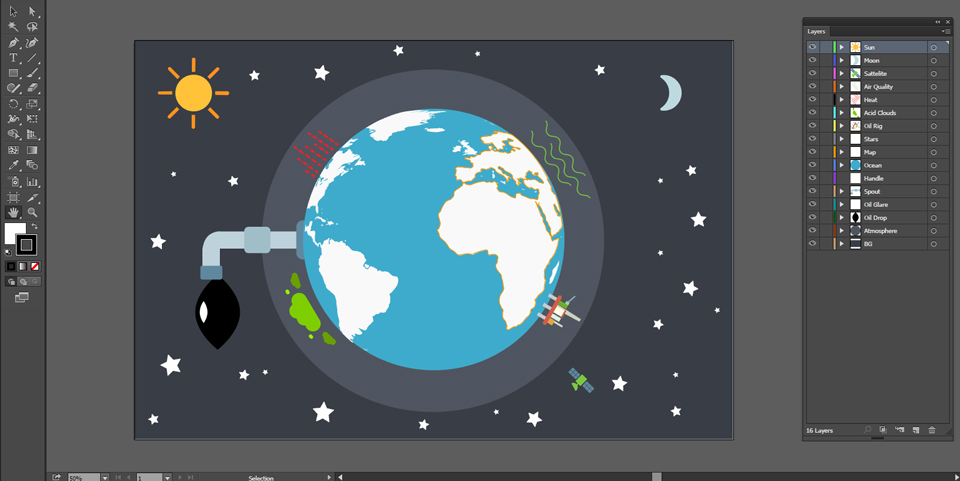
I started to design my assets in Adobe Illustrator which would later on be exported out for Adobe After Effects. All objects that needed movement were assigned to their own layer so After Effects does the same on import. I also did not add any masks in Illustrator, for this case, it was a lot easier to do so in After Effects. Here are a few screenshots of my Illustrator files:

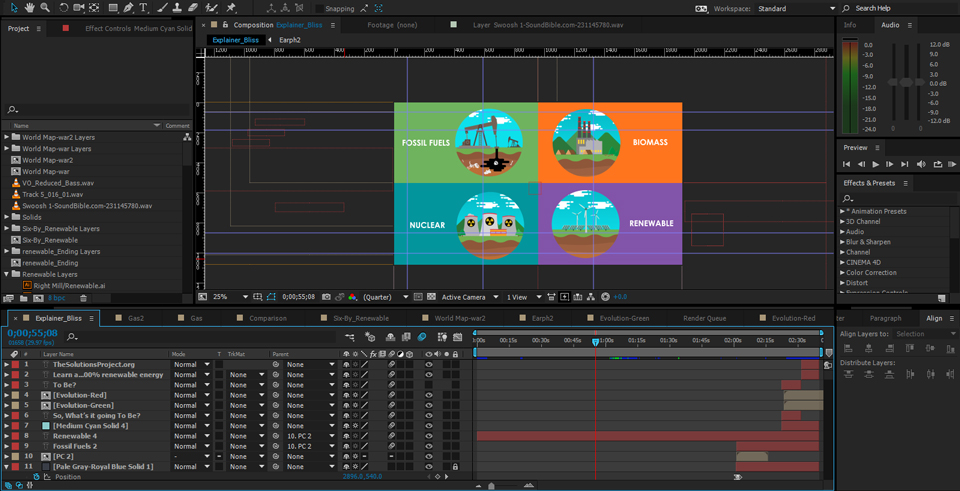
Animating in Adobe After Effects
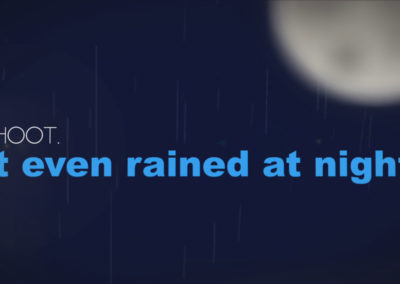
The final stretch was to compose and animate everything in After Effects. Before I animated, I hired a voice actor in the UK by the name of Mike Porter, Click Here to hire him yourself. I imported everything into After effects and animated to time the voice. This was the most time consuming process, however very rewarding. Here is a screenshot of my After Effects file:
Conclusion
I had a blast with this project and look forward to more animations like this. Feel free to contact me if you would like an animation like this for your business. Thanks for reading!